
Overview
Note: This plugin cannot be installed on IS servers. For use on section owned infrastructure only due to GDPR and PII issues. Should you wish to have basic petitions using just an iframe please read the basic petitions feature page.
The Amnesty Petitions plugin, when enabled, adds support for creating, managing, and storing signatory data for petitions within the framework of the Amnesty theme. By default, the plugin will store signatory data within the WordPress (WP) database, but this can be extended via a companion plugin to implement offloading data to a CRM.
First off you need to request the plugin, which you can install through the WP user interface.
Activating the Amnesty Petitions plugin will add a new top-level menu in the WP admin panel, which includes items for managing petitions themselves, managing settings, viewing signatory data, and viewing debug logging information.
Network Admin Settings
https://isalphasandstg.wpengine.com/wp-admin/network/admin.php?page=amnesty_network_options
/wp-admin/network/admin.php?page=amnesty_network_options

If this is slected X happens
Currently it shows the option for forms but the UI only shows Iframes, I assume it should hide the option to uses forms….
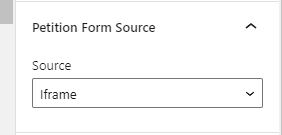
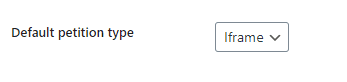
If Iframes is selected X happens
If Forms is selected Y happens
Creating a petition
Selecting “Add New” from either the petitions sub-menu or from the list view will bring up the new post screen for creating a new petition. There are a few differences between the standard new post screen and the new petition screen, which you can see in the screenshot below.

In the standard post creation screen, only the title (#1), main content area (#2), and management sidebar (#5) are visible.
When creating a new petition, there are three key differences:-
#2 has been restricted to a single area, although any blocks can be inserted within it.It’s ideal for adding a header or some opening content to drive home the messagethe petition is portraying to the user.
-#3 acts as a replacement for the main content area; the primary difference here isthat its width is restricted so that the petition form can be displayed prominentlybeside it.
-#4 the petition block has been added. This is where you can define all of the key information about the petition, and is the primary action for users visiting it.
The petition block is highly configurable. The fields surrounded by dotted borders can be freely typed in, whilst many other fields can be managed in the sidebar (#5) when the blockis selected.
Firstly, is the block “style”. This handles the colour scheme of the block:
Then there are the petition settings.
This section of the sidebar contains many configuration options, including which fields to show, goal information,and other display options.

Viewing a petition as a user
When you have created your first petition, you’ll see that its appearance in the edit screen closely represents its appearance for the end user. Below is an example of a petition as it appears to the user.
Global Petitions Settings
You may notice that some of the fields within the petition block are not editable when creating a petition—the terms and conditions text, for example—these are global options managed in the Petitions Settings sub-menu item in the WP admin area.
Adding a thank you page
You may want to add a default thank you page, and associate that page in the plugin options page. The “Thank You URL”—which is the URL the user will be redirected to once they have signed the petition—is set globally, but can be overridden on a per-petition basis.
Adding a Thank You Email
You can configure the plugin to send thank you emails to signatories, and edit the email content if so, as well as where the data should be stored. As you can see in the screenshot, there is only one option for data storage—database—which is the default. If a companion plugin is enabled, the option to choose its destination (e.g. a CRM such as Salesforce) will be visible.
Based upon the settings in the previous section, below is an example of how the thank you email will look to the user.

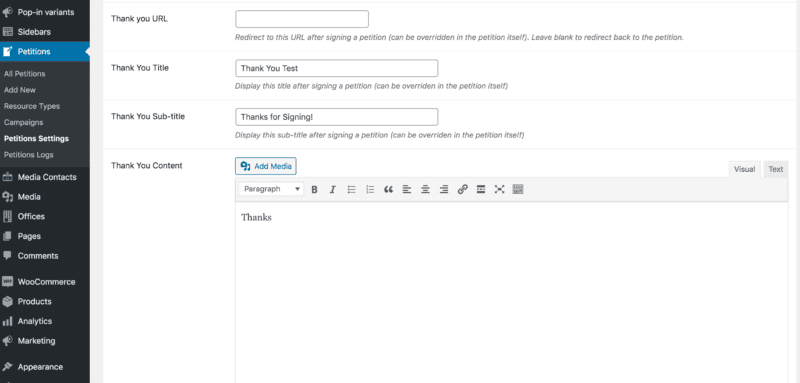
Adding Customisable Thank You Content
You can add global thank-you content for your Petition under the Petitions > Settings, this allows you to set:
- Thank You Title
- Thank You Sub-title
- Thank You Content
You can also override your global Thank You settings on an individual Petition by going to the ‘Thank You Settings’ dropdown on the right-hand settings of the Petition block:
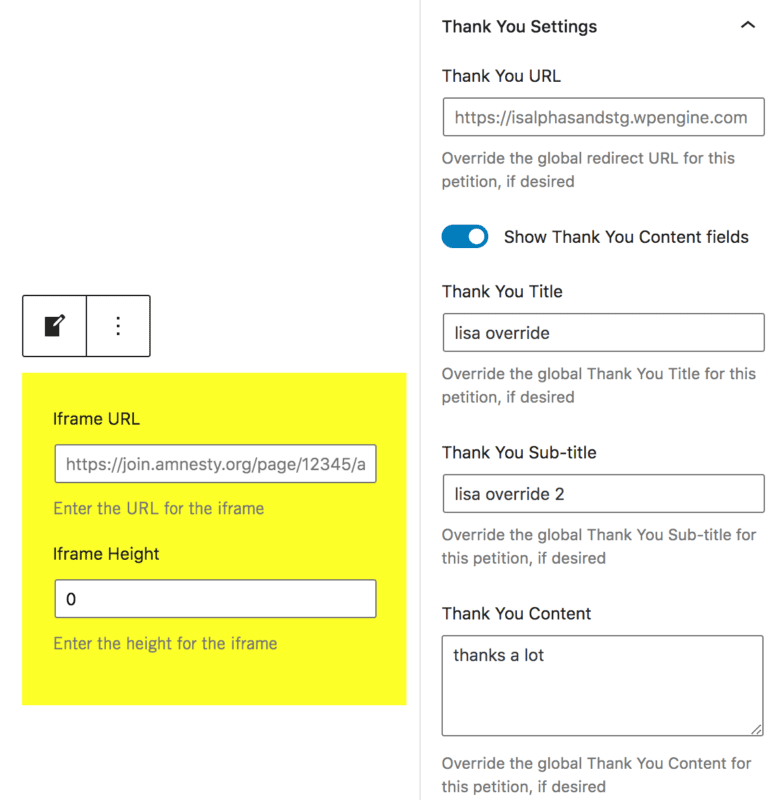
This gives you the freedom to customise the Thank You content for your Petitions separately, if desired.
Petitions SalesForce adapter
To move your data from WP to SalesForce you will need to use our complimentary plugin details here.