
Overview
Note: For use on section owned infrastructure only due to GDPR and PII issues. This plugin cannot be installed on IS servers, except for use on amnesty.org.
The Amnesty Donations plugin, when enabled, adds a new Gutenberg block and WooCommerce configuration to enable both one-off and repeat donations via a call-to-action style block.
Donations are heavily tied to WooCommerce and some other dependencies, which handles the transactional aspect of the donation. As a consequence, the plugin will store donation data within the WordPress (WP) database; however, this can also be extended via a companion plugin to implement data synchronisation to a CRM.
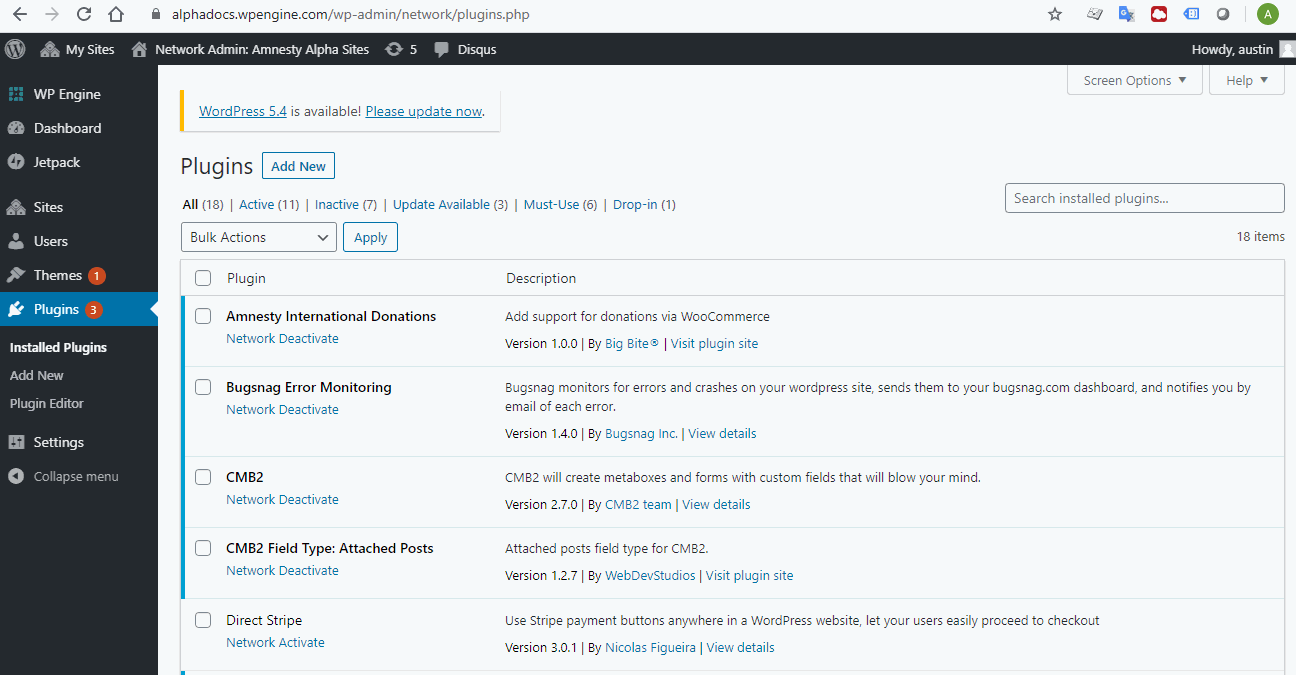
First off you need to request the plugin, which you can install through the WP user interface.
Once the plugin has been activated, there will be a new item in the General settings tab of WooCommerce products, which is used to indicate whether the current product is a donation.
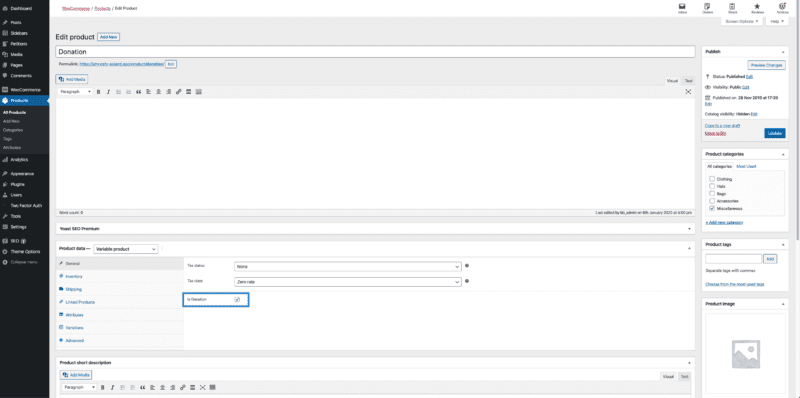
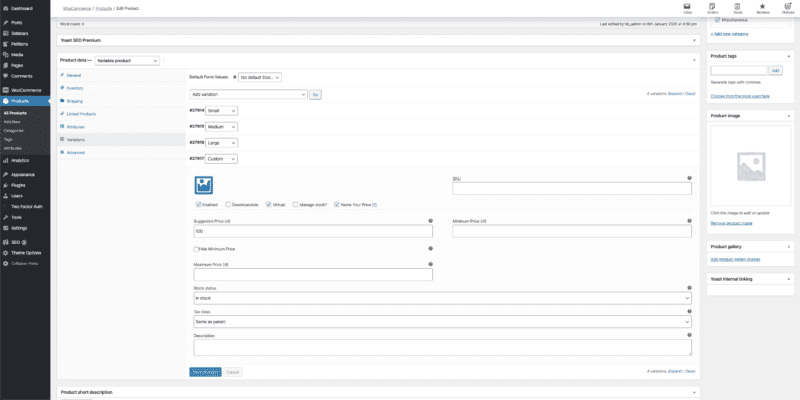
Simple and Variable products are supported for donations, though it is recommended that Variable be used; using a Variable product allows several different donation levels to be selected, as well as a user-specified value, all within the same product (and therefore Donation block).
As with donation products, Subscription products are supported, and it is recommended to use Variable Subscriptions. Please note that the donation checkbox does not need to be selected for Subscriptions.
Once there are Donation and/or Subscription products published, they can be used in the Donation block.
Creating a Donation
The donation block can be added to a post or a page like any other block.
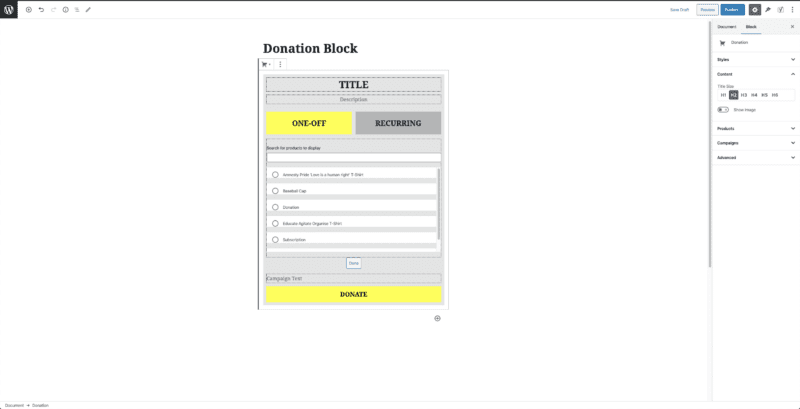
When the donation block is first added, it will present a list of the most recently added products to select from. There are two buttons below the title and description fields which can be used as a toggle to select a product for use in each. The button labels and visibility can be managed in the Products panel in the sidebar when the block is selected.
Once a product has been chosen, the small “Done” button can be used to confirm the selection, and the display will change to indicate how it will appear to a user of the site.
Again in the sidebar, there is an option to allow the user to select a campaign target for their donation/subscription in the Campaigns panel. Campaign fields are managed using WooCommerce Checkout Manager.
Campaign Fields
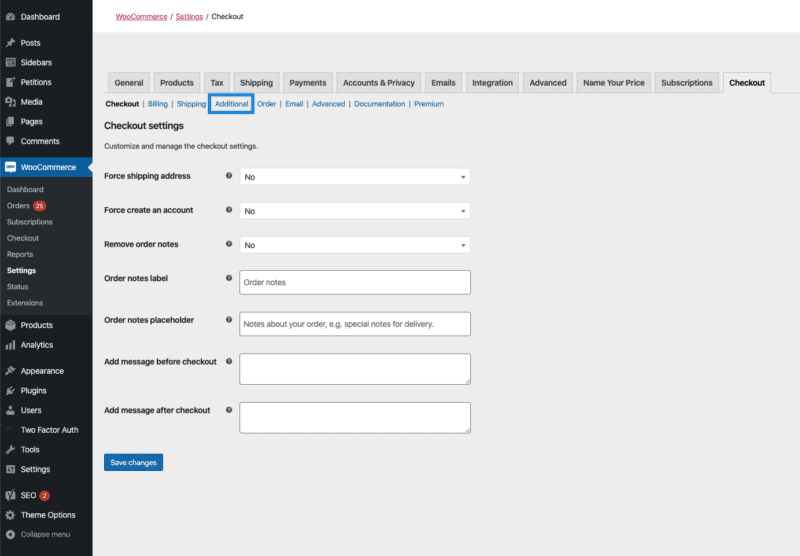
To manage campaign fields, go to WooCommerce -> Settings -> Checkout -> Additional, as shown in the below screenshot.
When creating a field for use in the Donation block, the field type must be set to Select. Options can then be added for each campaign that should be allowable. Once the field is created and saved, it can then be chosen from the select in the Campaigns panel on the donation block that is being edited.
This will then automatically populate the options into the block in both the editor and the user-facing sides of the site. Additionally, it will be recorded in the transaction, and in any CRM adapter that has been configured.