
Audience: Web Ops Team and Web Working Group Members.
What: A guide for how to add a site to BugSnag
Bug Snag is a tool we use to automatically collects error messages so they can be reviewed and triaged if needed.
- Log into Bugsnag: https://app.bugsnag.com/user/sign_in/
- Click “New Project”

- Select the “Server” application type

- Select the “PHP” programming language
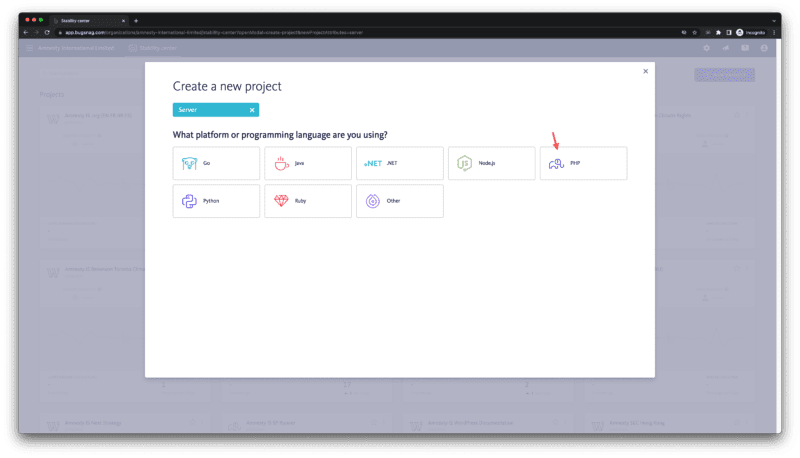
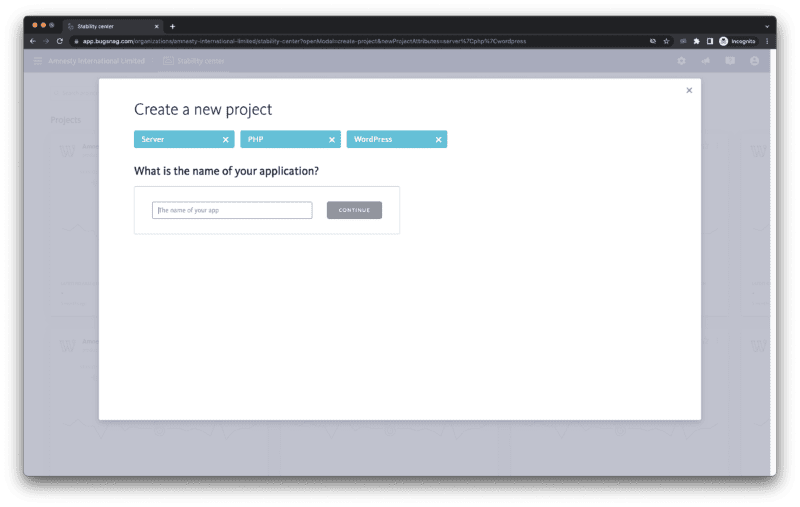
- Select the “WordPress” platform type

- Name your application
- You’ll then be shown your application API key. This needs adding to the Bugsnag plugin settings in WordPress.

- In Network admin, visit Settings -> Bugsnag (requires the plugin to be activated)
- Paste the API key into the appropriate field.
- In the “Notify Bugsnag About” dropdown, there are three options;
- If the site is production, set this to “Crashes & Errors”
- If the site is staging, set this to “Crashes, Errors, & Warnings”
- If the site is development, set this to “Crashes, Errors, Warnings & Info messages”
- Save
And that’s it, you’re done.